Never be afraid to paint outside the lines

Tag: Black Sailors

J’ork Sparrow

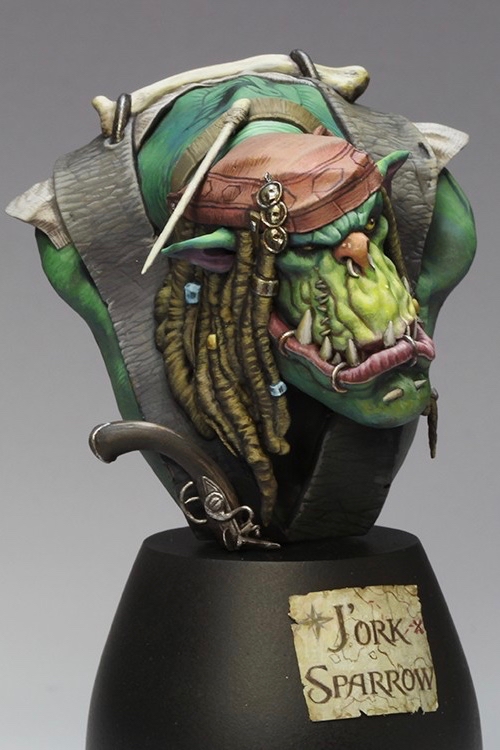
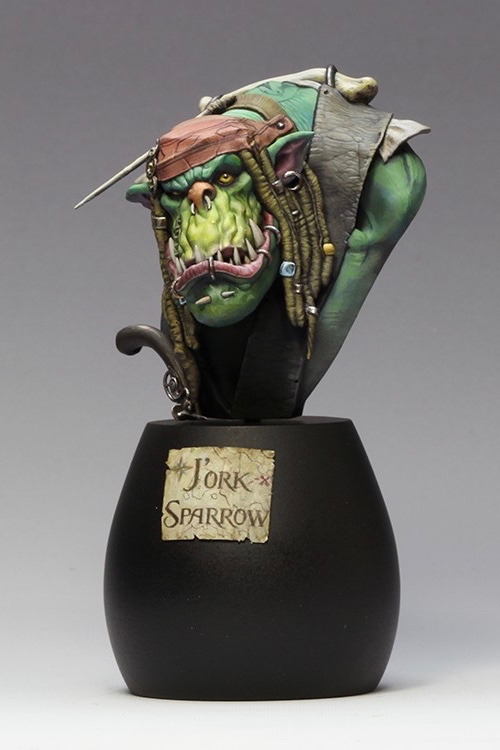
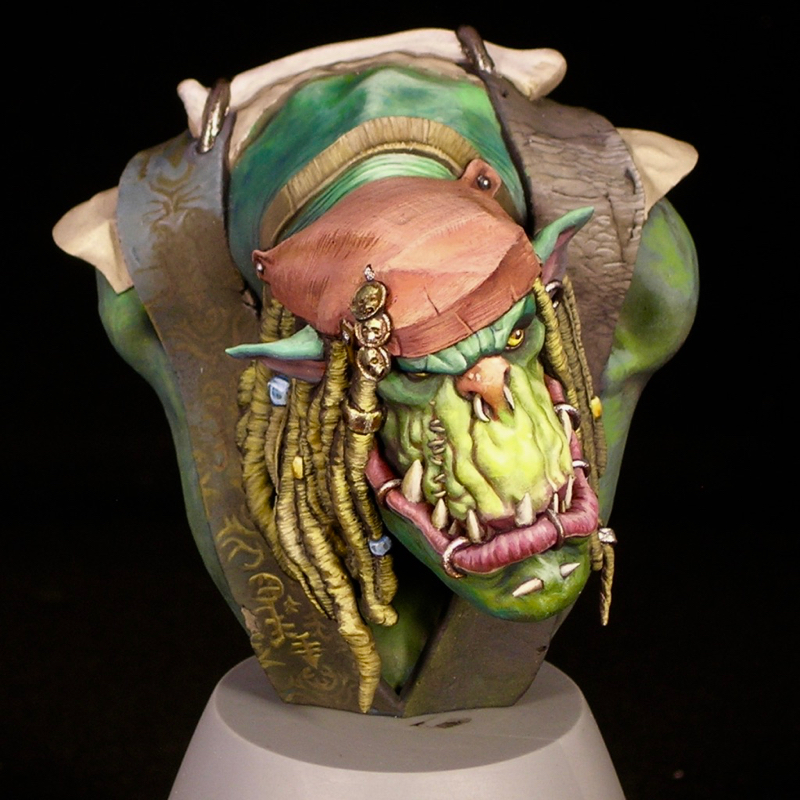
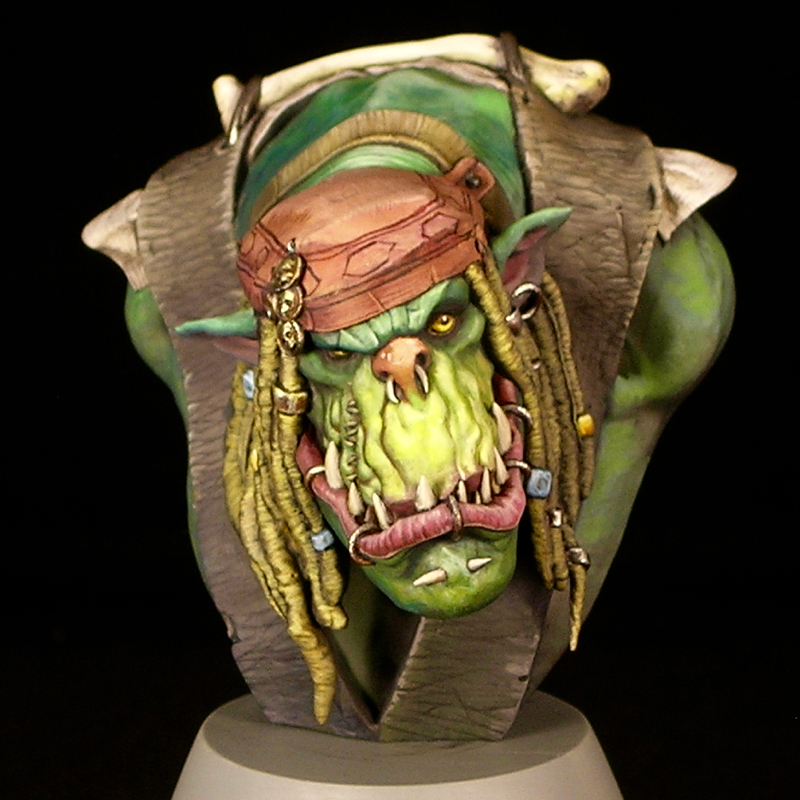
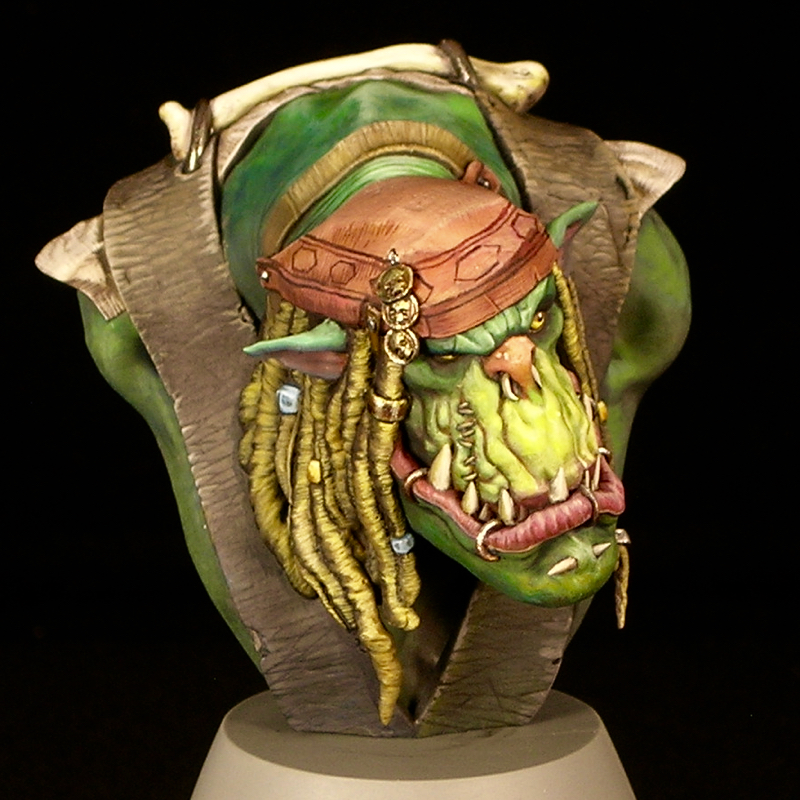
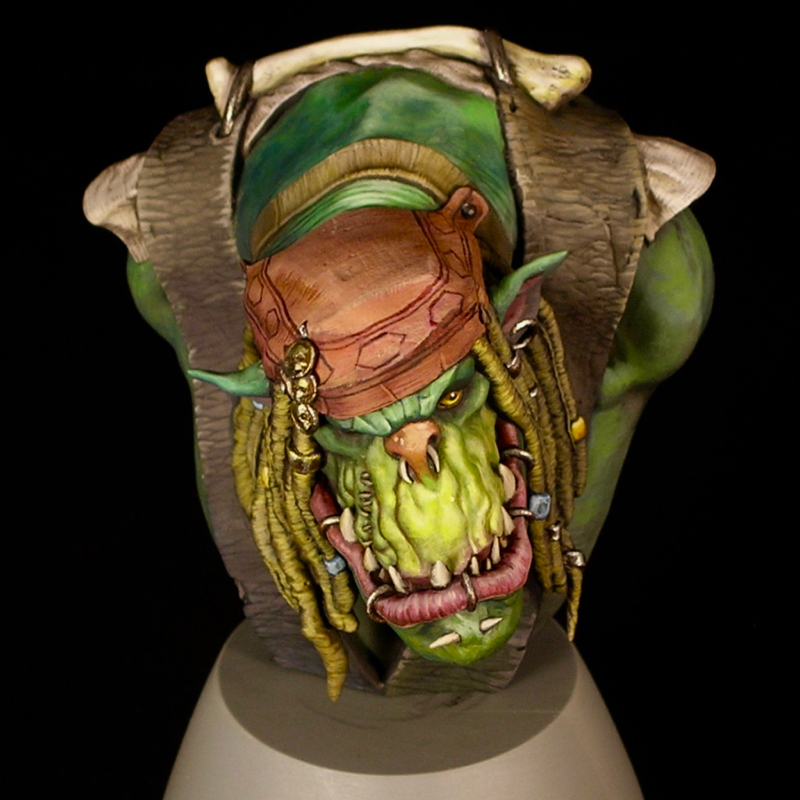
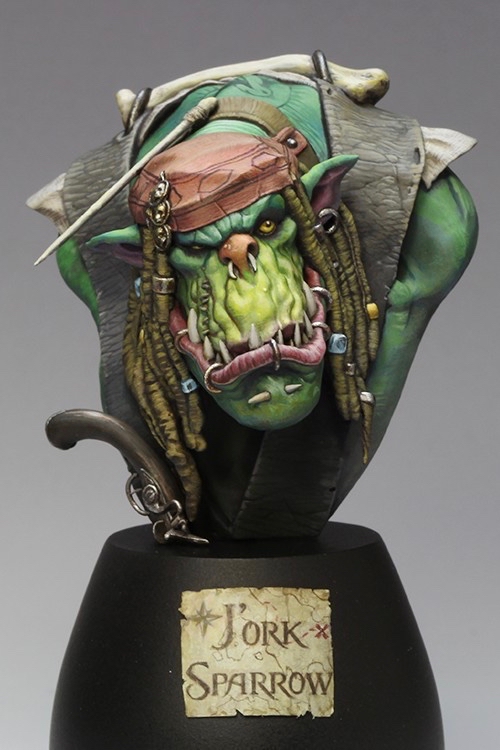
I finished J’ork Sparrow just in time for Crystal Brush—literally. I did a few final touches the day of the deadline, and was even painting at the airport a bit on the way to Chicago.

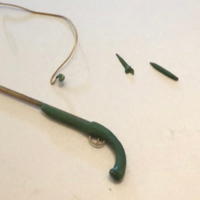
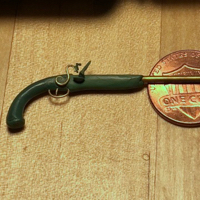
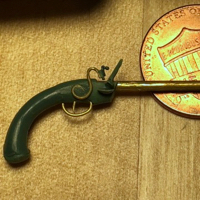
When I last posted about Mr. Sparrow, he was mostly finished, but still missing his flintlock pistol. That was the slowest part of the project, as I am the world’s slowest sculptor. It was fun though – in addition to checking flintlock reference photos, I also read up on how flintlocks work so I could accurately depict the mechanism. I depicted it ready for loading, with the hammer down and the frizzen open, which I think is appropriate for a holstered ‘lock—but please correct me if I’m mistaken!

I sculpted more of the flintlock than I needed, so I could leave a crisp plane where I cut it off. I also sculpted the parts of the mechanism separately. This not only made it easier to get some of the shapes, it also let me glue on the pieces and have them really look like distinct parts.

The other main element I added since the last WIP is the label on the base. I usually don’t place title plaques on my figures, but for this one I wanted to highlight the Jack Sparrow connection, and I also thought it would be fun to do a little treasure map as the label. The map is sculpted out of green stuff and torn slightly, in an attempt to get a naturally weathered appearance. The map and lettering are freehand, which is why my kerning is slightly off and my glyphs aren’t nearly as perfect as I’d like them to be. I’ve never been a good calligrapher.

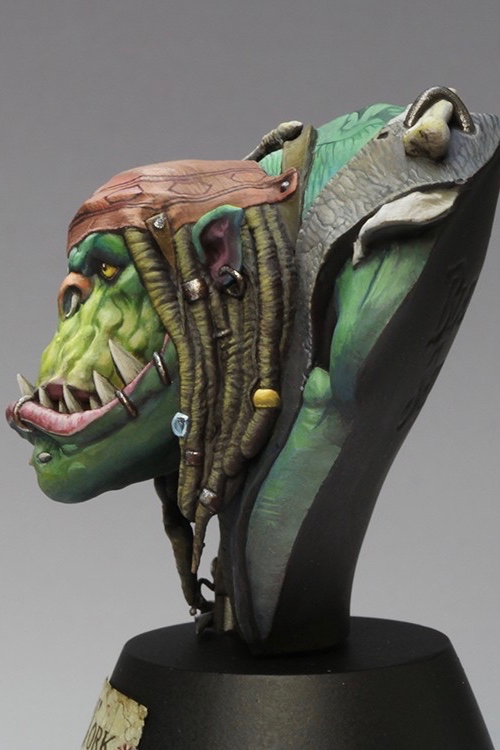
I added a couple of other pieces to reinforce the Jack Sparrow connection: Jack’s sparrow tattoo, which also serves to add interest to the ork’s otherwise rather plain back, and the bone shard on his head, which was another very simple sculpt. Other than that, the only changes since the last WIP are a bit of refining here and there, and obviously much better photographs. They really do a wonderful job of photography at Crystal Brush, and my poor home photo setup cannot really compare.

I’m really pleased with how this piece came out in the end. I think the sculpted additions I made are both characterful and also help to add some interest to the silhouette, and I think the piece works well compositionally, with a face that really grabs and holds your focus, but enough interest elsewhere.

Voting links: Putty & Paint, CoolMiniOrNot
From the Workbench: J’ork Sparrow, part 2

I started J’ork Sparrow in November, and so far I’m quite happy with his progress.

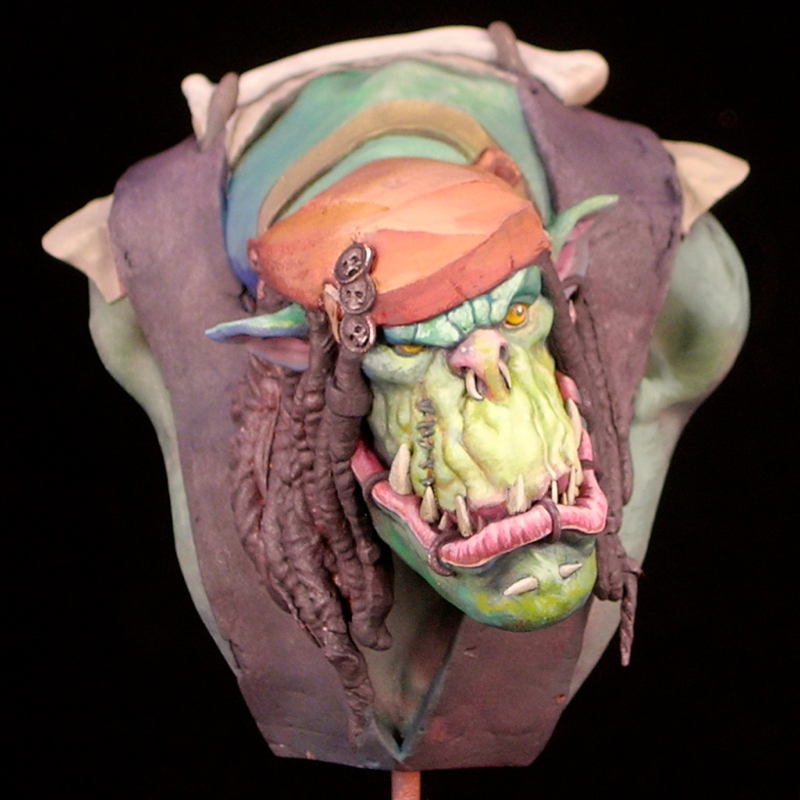
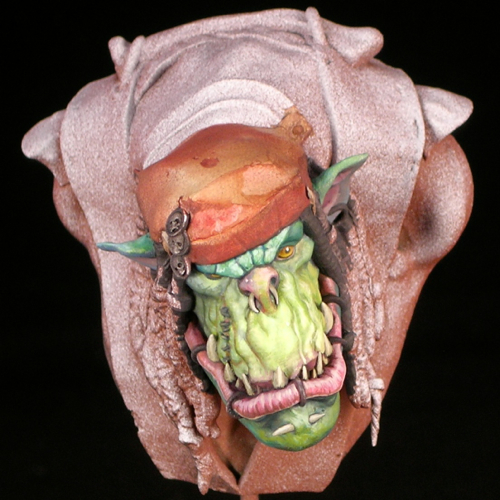
In the November post, all I’d painted was his face and started blocking in the color of the bandanna. The next step was blocking in the remaining colors, so that at least no primer was visible. That way you can see the overall composition which helps keep things consistent as you refine the individual areas.

As with many of my recent works, J’ork is heavy on the textures. Because busts are a relatively much larger scale than other minis, you can depict surfaces with a much greater amount of detail, so it’s really important to depict the textures of the various materials as well as their shapes and colors. You can see the neck wrinkles, the weave if the fabric in the cap. I’ve even tried to replicate the texture of sun-bleached dreadlocks (which is not easy, I can tell you!)

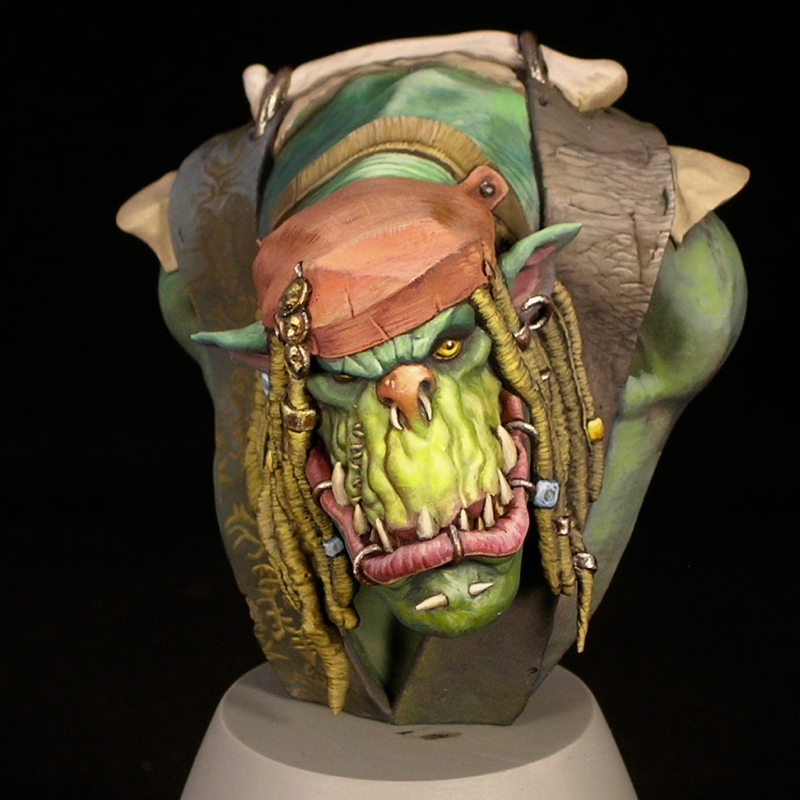
I wasn’t quite sure how I wanted to do the vest, so I tried out two ideas, one on either side. One option was a slightly tattered fabric with gold embroidery on blue, similar to Jack Sparrow’s vest in the movie. The other was a more orkish vest, weathered and textured black leather. In the end I decided to go with the leather texture, and keep my freehand limited to J’ork’s cap.

Even more textures! In addition to settling on black leather for the vest and starting the freehand printed pattern on the cap, I’ve also done some subtle texturing on the bone and the white fabric, which helps differentiate them. It’s pretty subtle, but subtle details like that can add a lot of realism.

At this point all of the surfaces are done to an acceptable level of detail, and the bust is approaching where I could call it finished. However, I have one large step remaining, which is that I really want to equip him with a musket, in a holster attached to his vest. So there’s some sculpting to be done, as well, obviously, as more painting.

Other than that, the main remaining work is simply refining the details I have already established, making them crisper and easier to read, and fixing any mistakes until I’m 100% happy.

From the Workbench: J’ork Sparrow

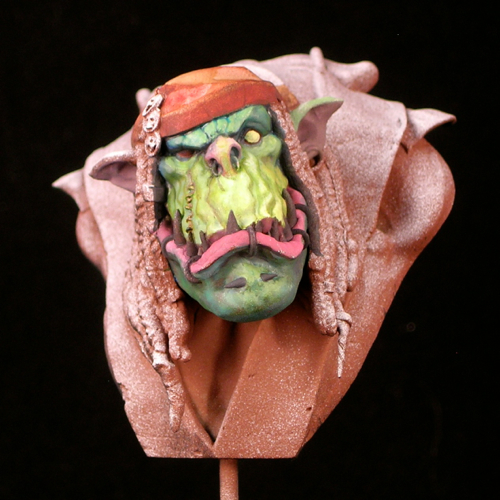
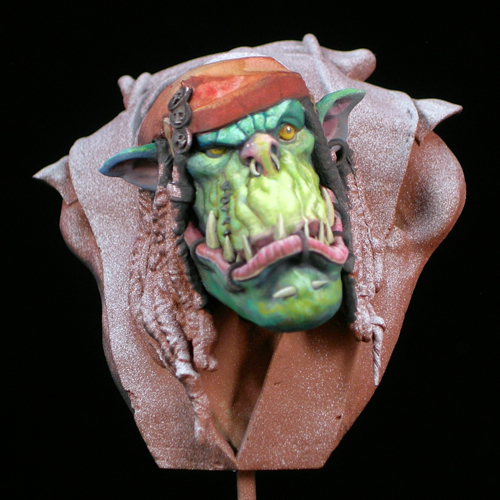
I started this fellow last night, and so far he’s coming along swimmingly. Here’s the face after one evening’s work (couple hours).

After getting the basic color composition down, I started refining. After a few more hours refining the face this morning, I’d say it’s about 80% done.

I don’t always finish entire areas like this before moving on. In fact I often like to put a bit of paint everywhere before finishing any areas, to test the overall composition. But in this case, all of the main colors are in the face, since the vest will be black and the other elements will be white, gray, or his skin color, so there’s no harm in it. Next I plan to block in all the other areas, then start in on the cap.

If you don’t know it, the bust is Papa Jambo, by Big Child Creatives. Quick tip: they have a good deal on a pair of busts from their pirate bust set—Papa Jambo, Sharki, and Capt. Albrecht—if you buy direct from them (though the shipping can be a bit pricy depending on where you live).

© 2024 Light Miniatures

Theme by Anders NorenUp ↑